Want to make Christmas card with photo? Here’s how to get started!


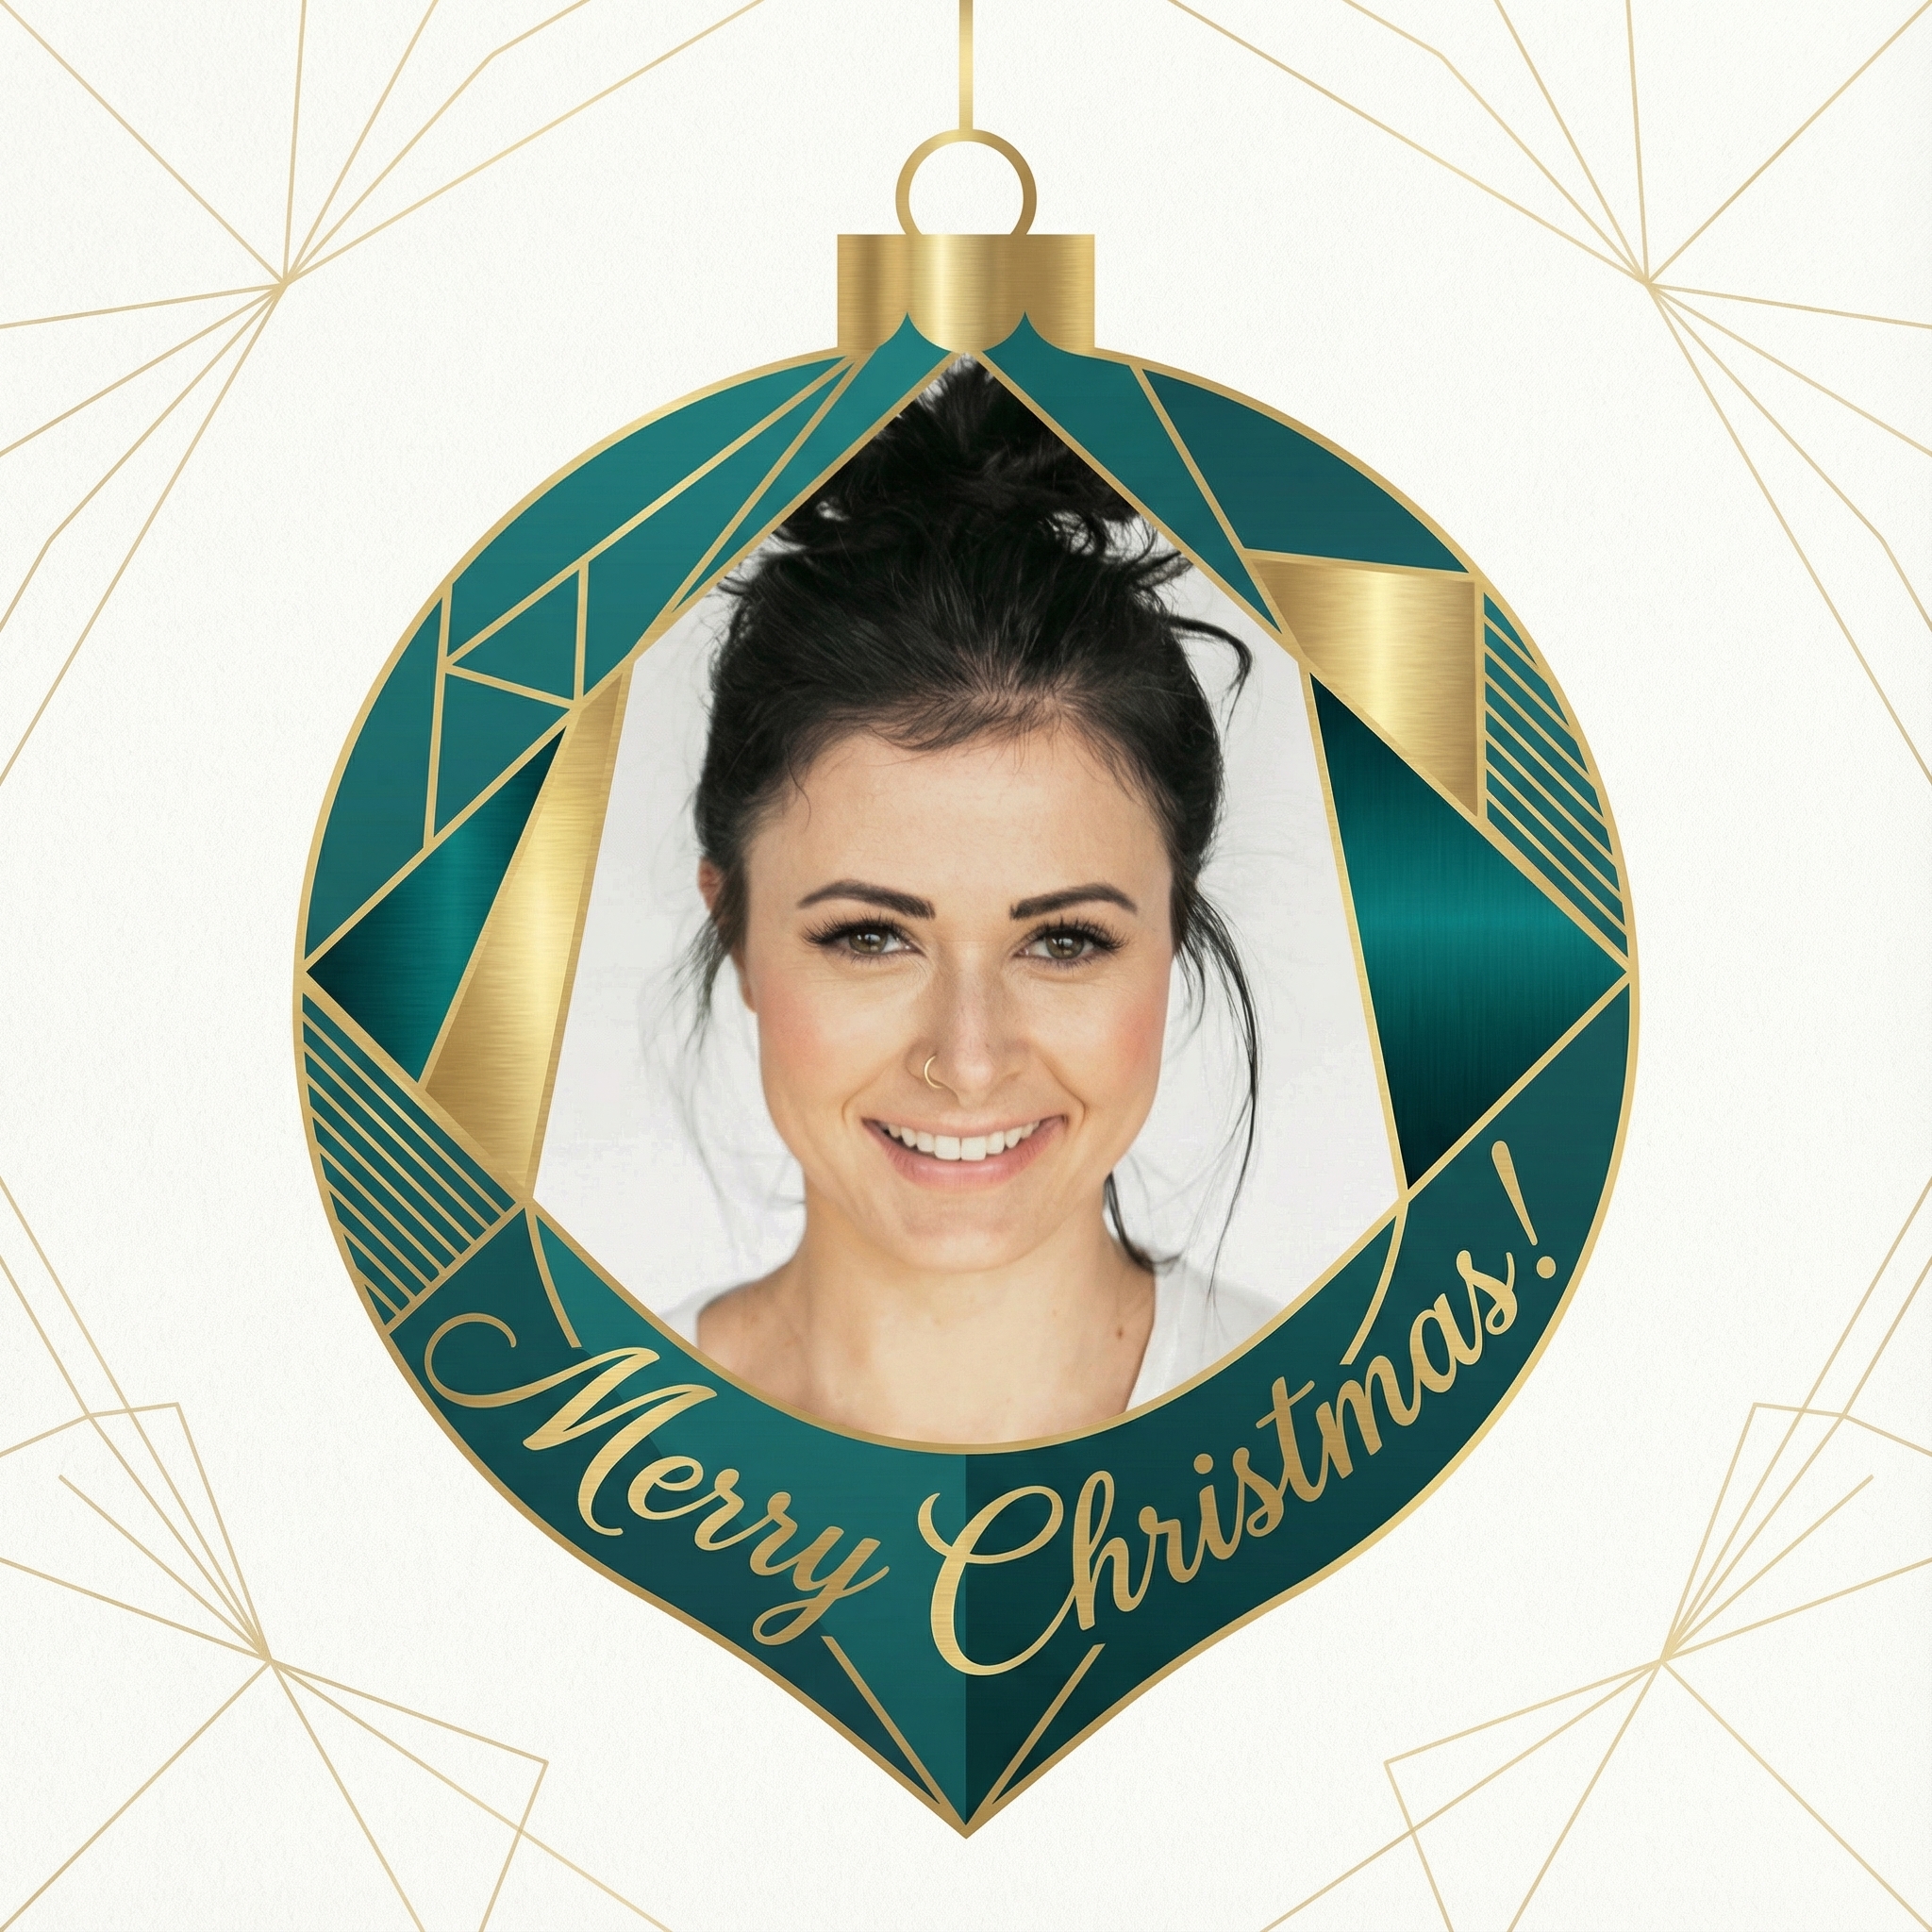
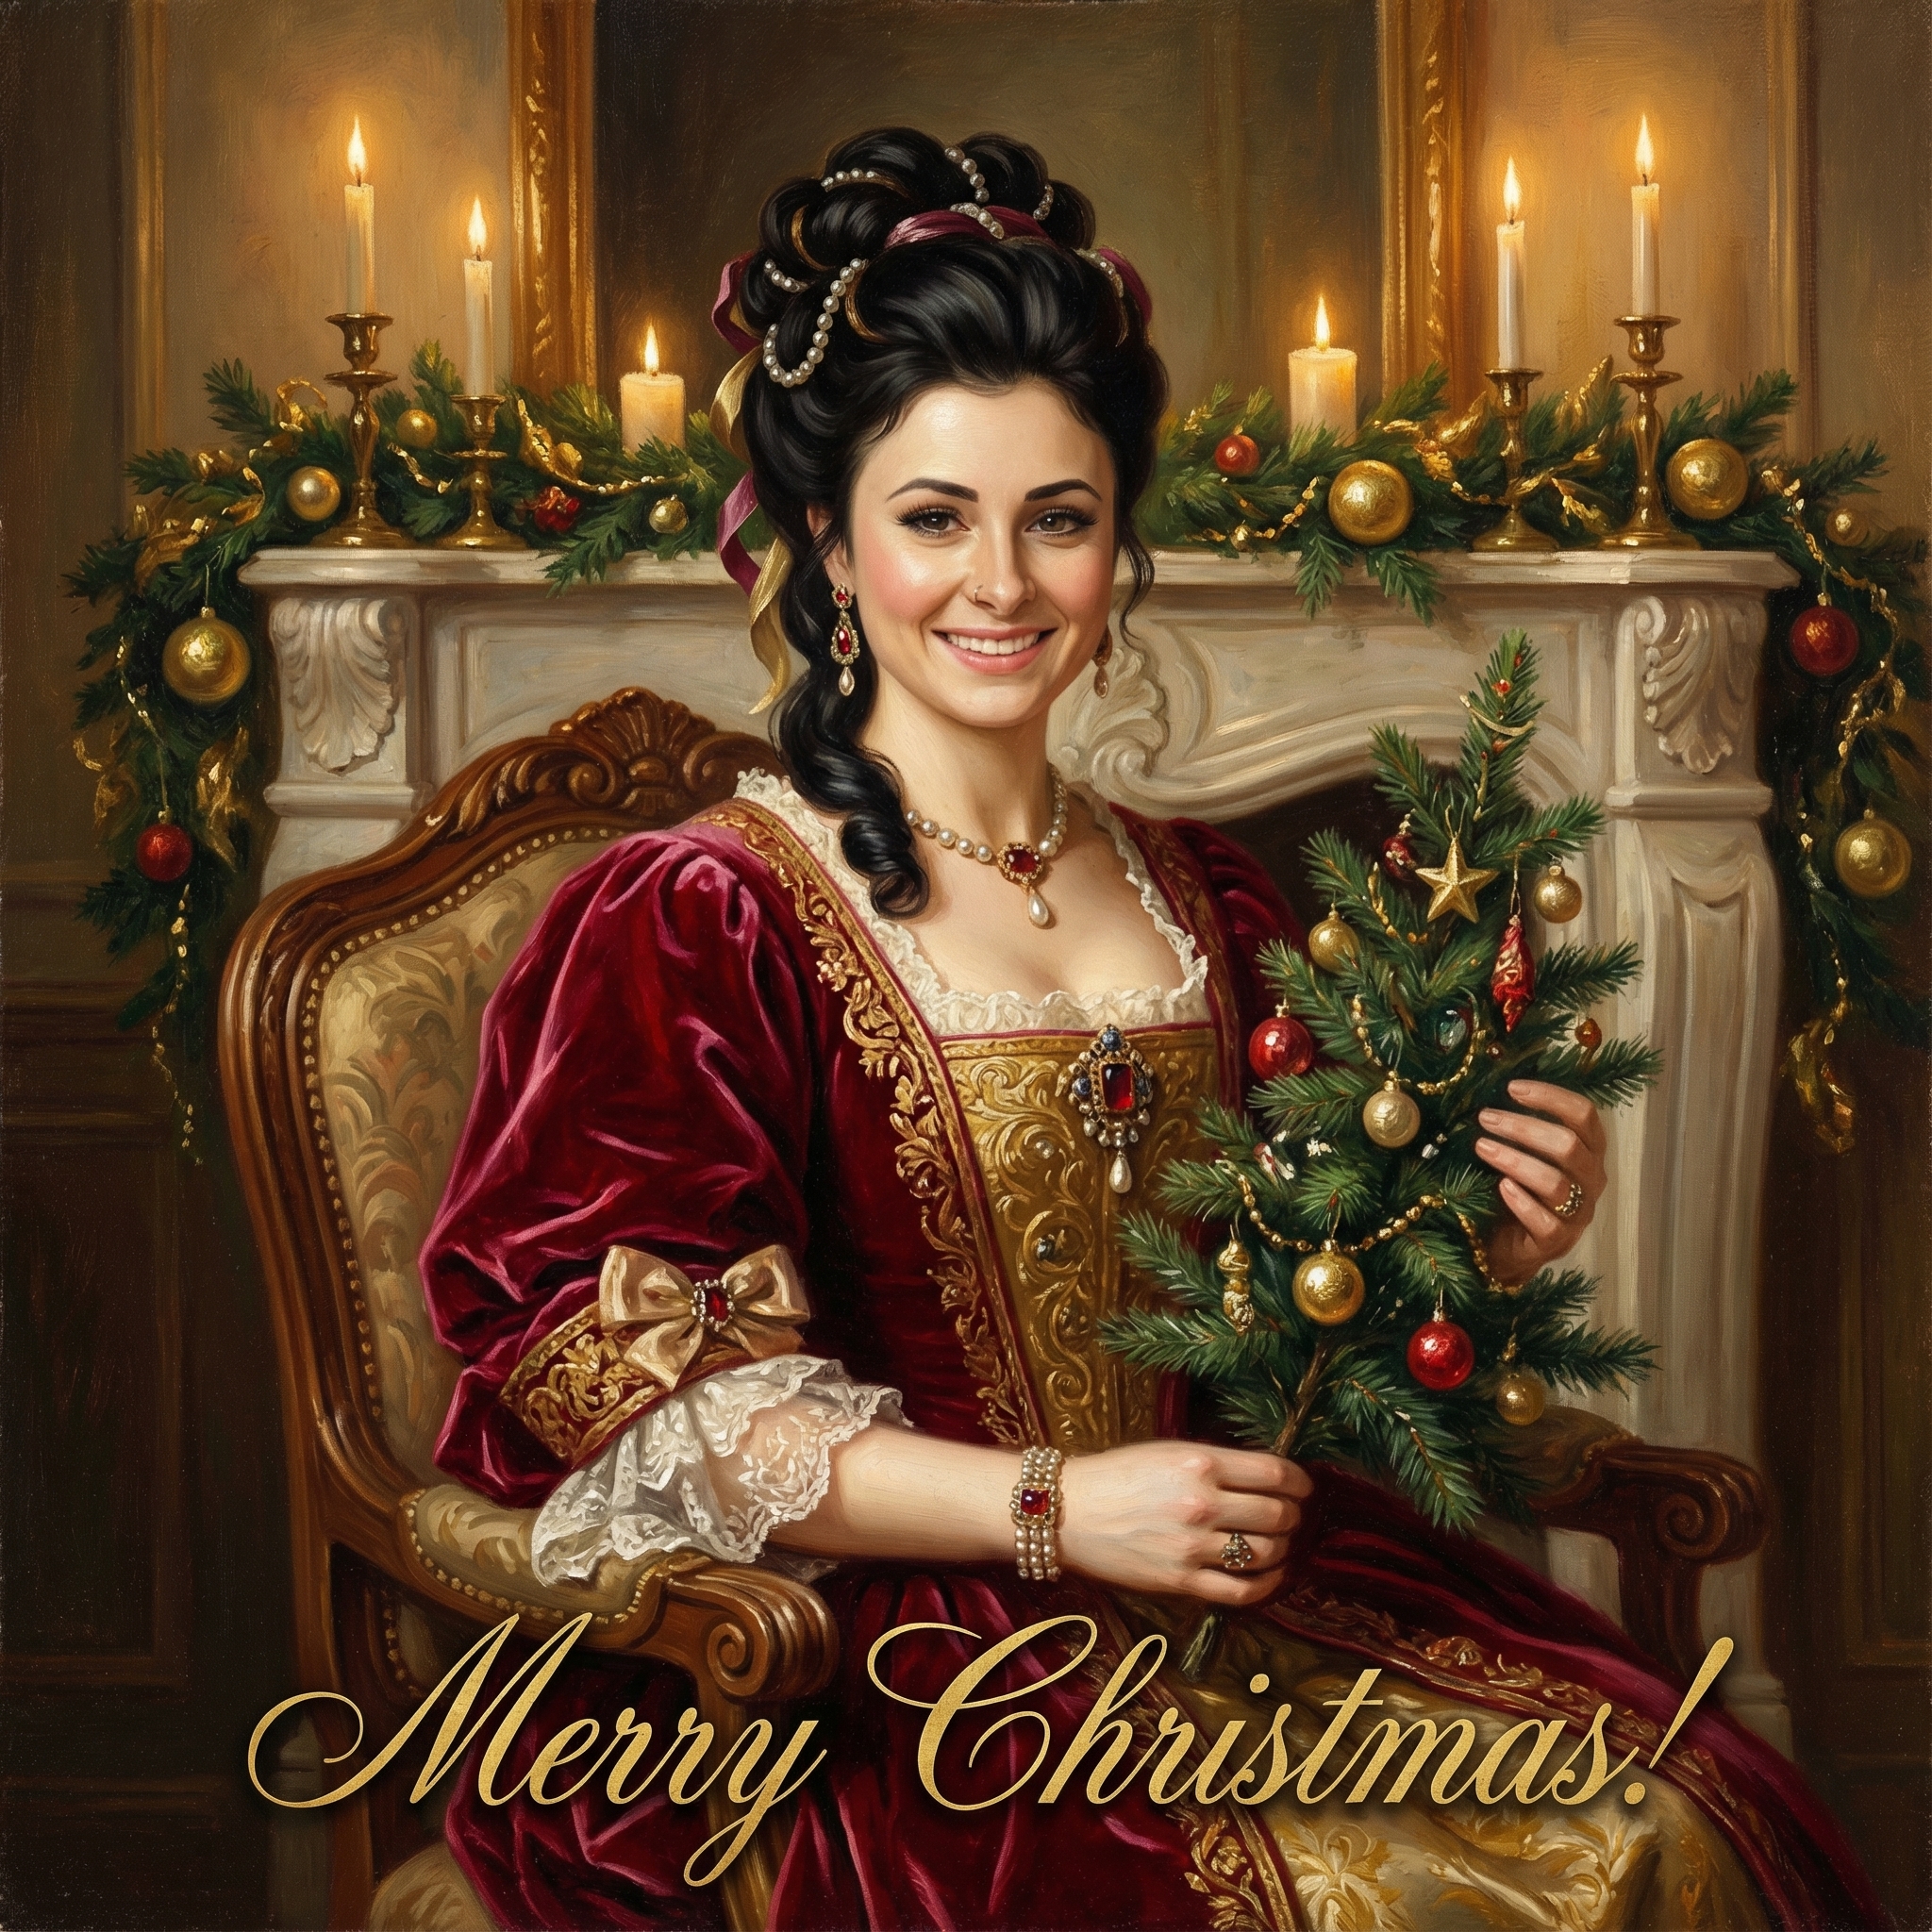
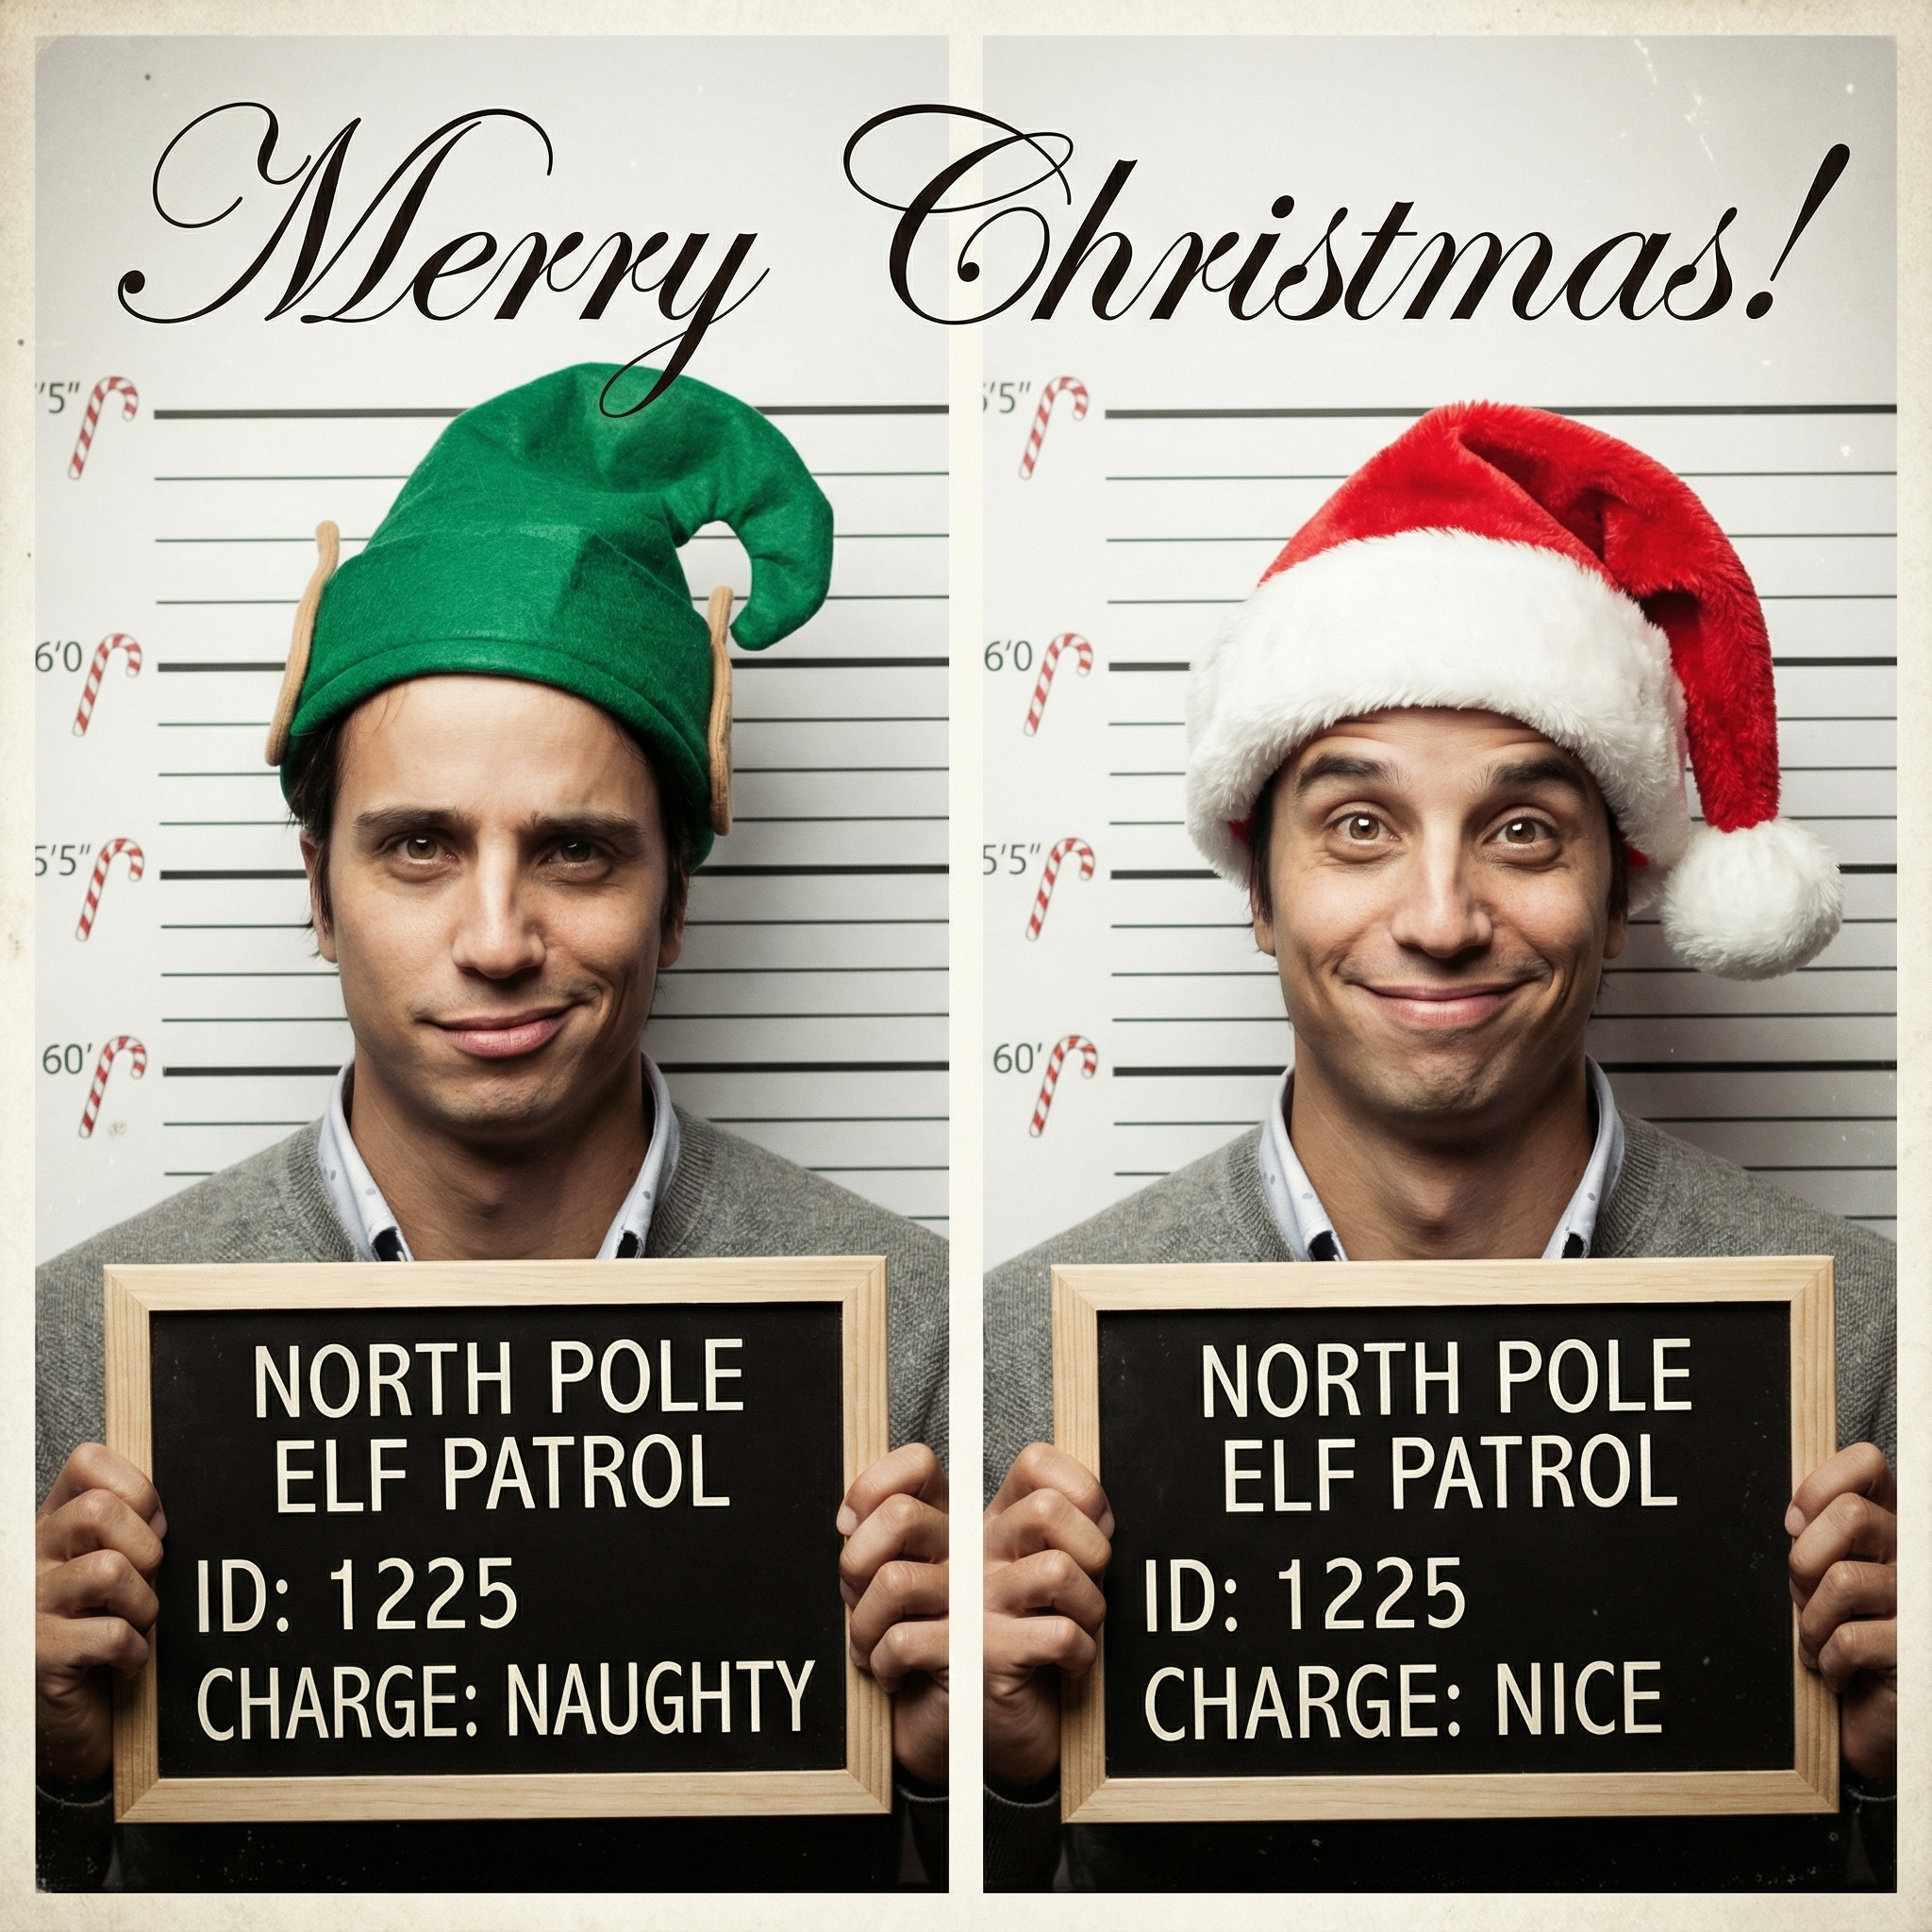
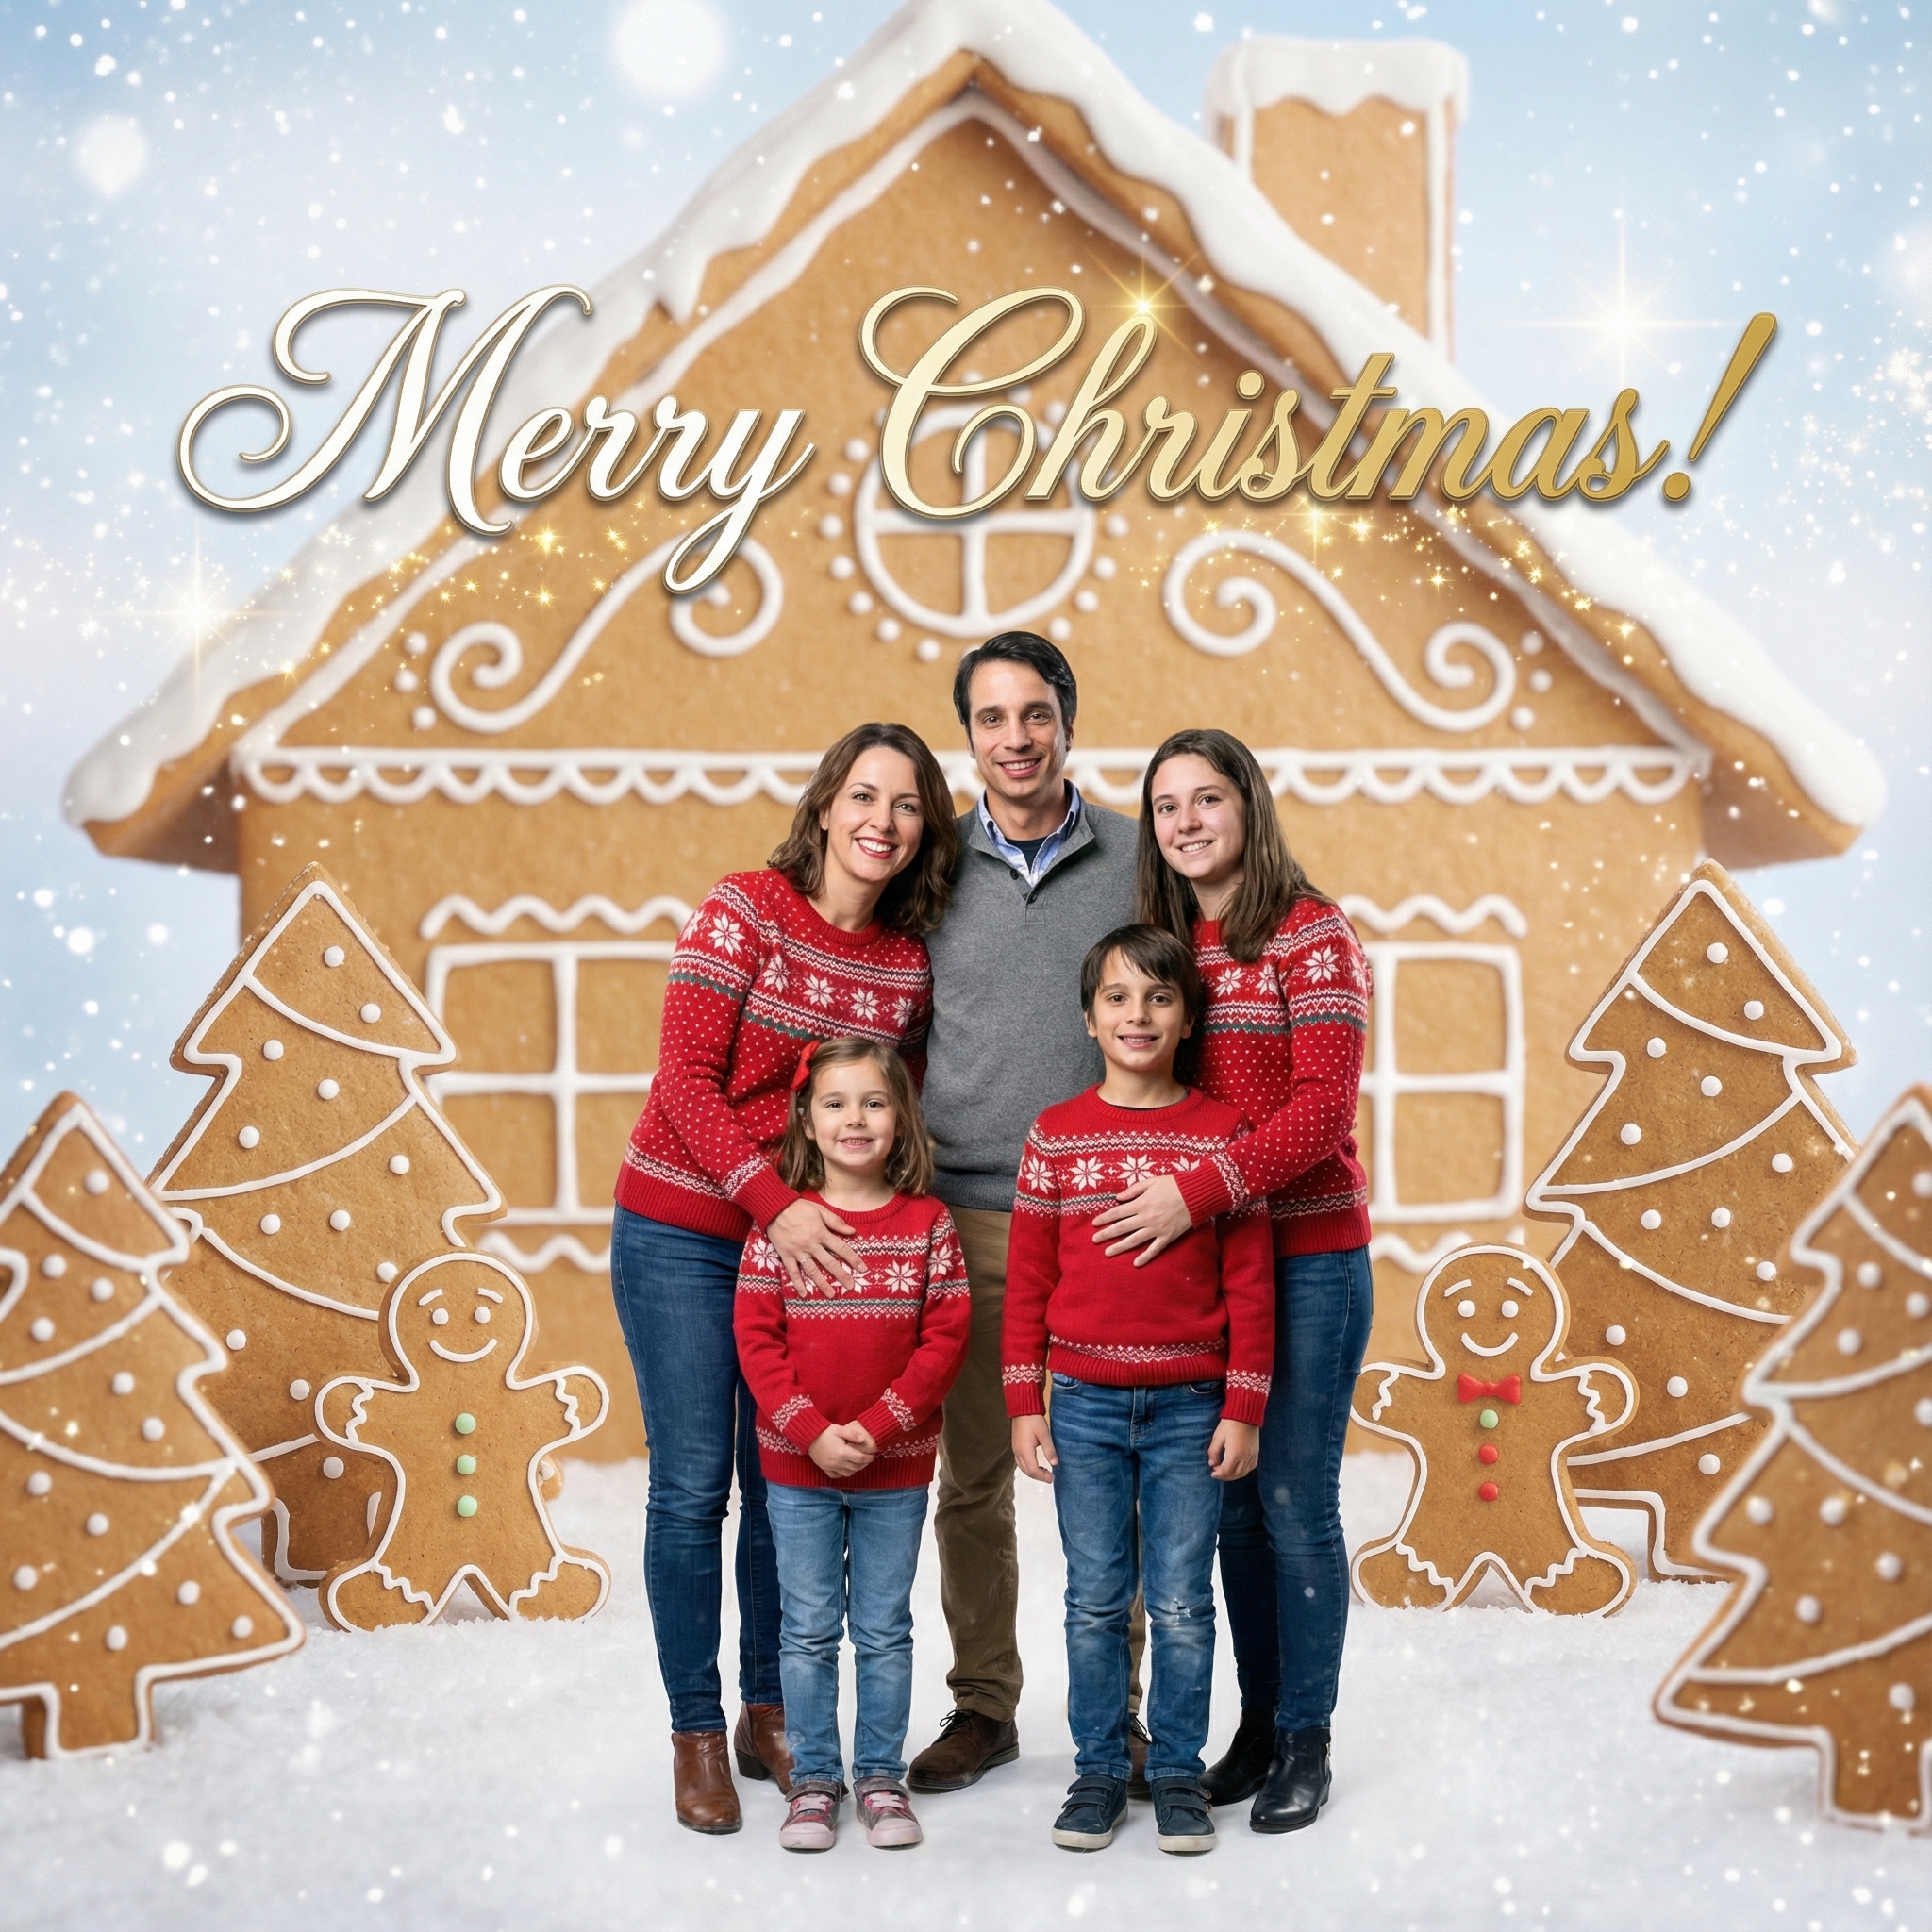
Choose from our collection of beautiful Christmas card styles. From classic to modern, there's a perfect style for everyone.


Create your Christmas card in three simple steps
Upload a clear photo of yourself. Our AI uses your unique features to create personalized Christmas cards.
Choose from 12+ beautiful Christmas card styles and add a personal message to your Christmas card.
Within 10 minutes your Christmas card is ready. Download the HD version and have it printed or send it digitally to your family and friends.
Hoe meer kaarten, hoe meer korting. Van €3,99 per kaart tot slechts €2,50 per kaart.
€3,33 per kaart
17% korting
€2,99 per kaart
25% korting
€2,50 per kaart
37% korting
Alright, so you might be thinking, "Is it really worth the effort to make Christmas card with photo when I could just grab a box of pre-printed ones?" And honestly, that's a fair question! But here's the thing: a photo card is so much more than just a piece of paper with a picture on it. It’s a little snapshot of your life, a memory shared, and a really personal way to connect with people, especially those you might not see very often.
Think about it. When you open your mailbox and find a card with a sweet picture of your friend's kids, or a funny shot of your cousin's dog, or even just a lovely landscape from a trip your sister took – doesn't that make you smile a bit more than a generic snowy scene? It feels like they're actually talking to you, sharing a moment from their year. When you decide to make Christmas card with photo, you're pretty much sending a little slice of your year to everyone you care about, reminding them of shared memories or giving them a peek into your world. It’s a keepsake, not just a card.
Okay, so you're on board. Now comes the fun (and sometimes tricky) part: choosing the photo! The first, and probably most important, step when you make Christmas card with photo is picking the right picture. Don't just go for the most technically perfect shot; go for one that tells a story or captures a feeling.
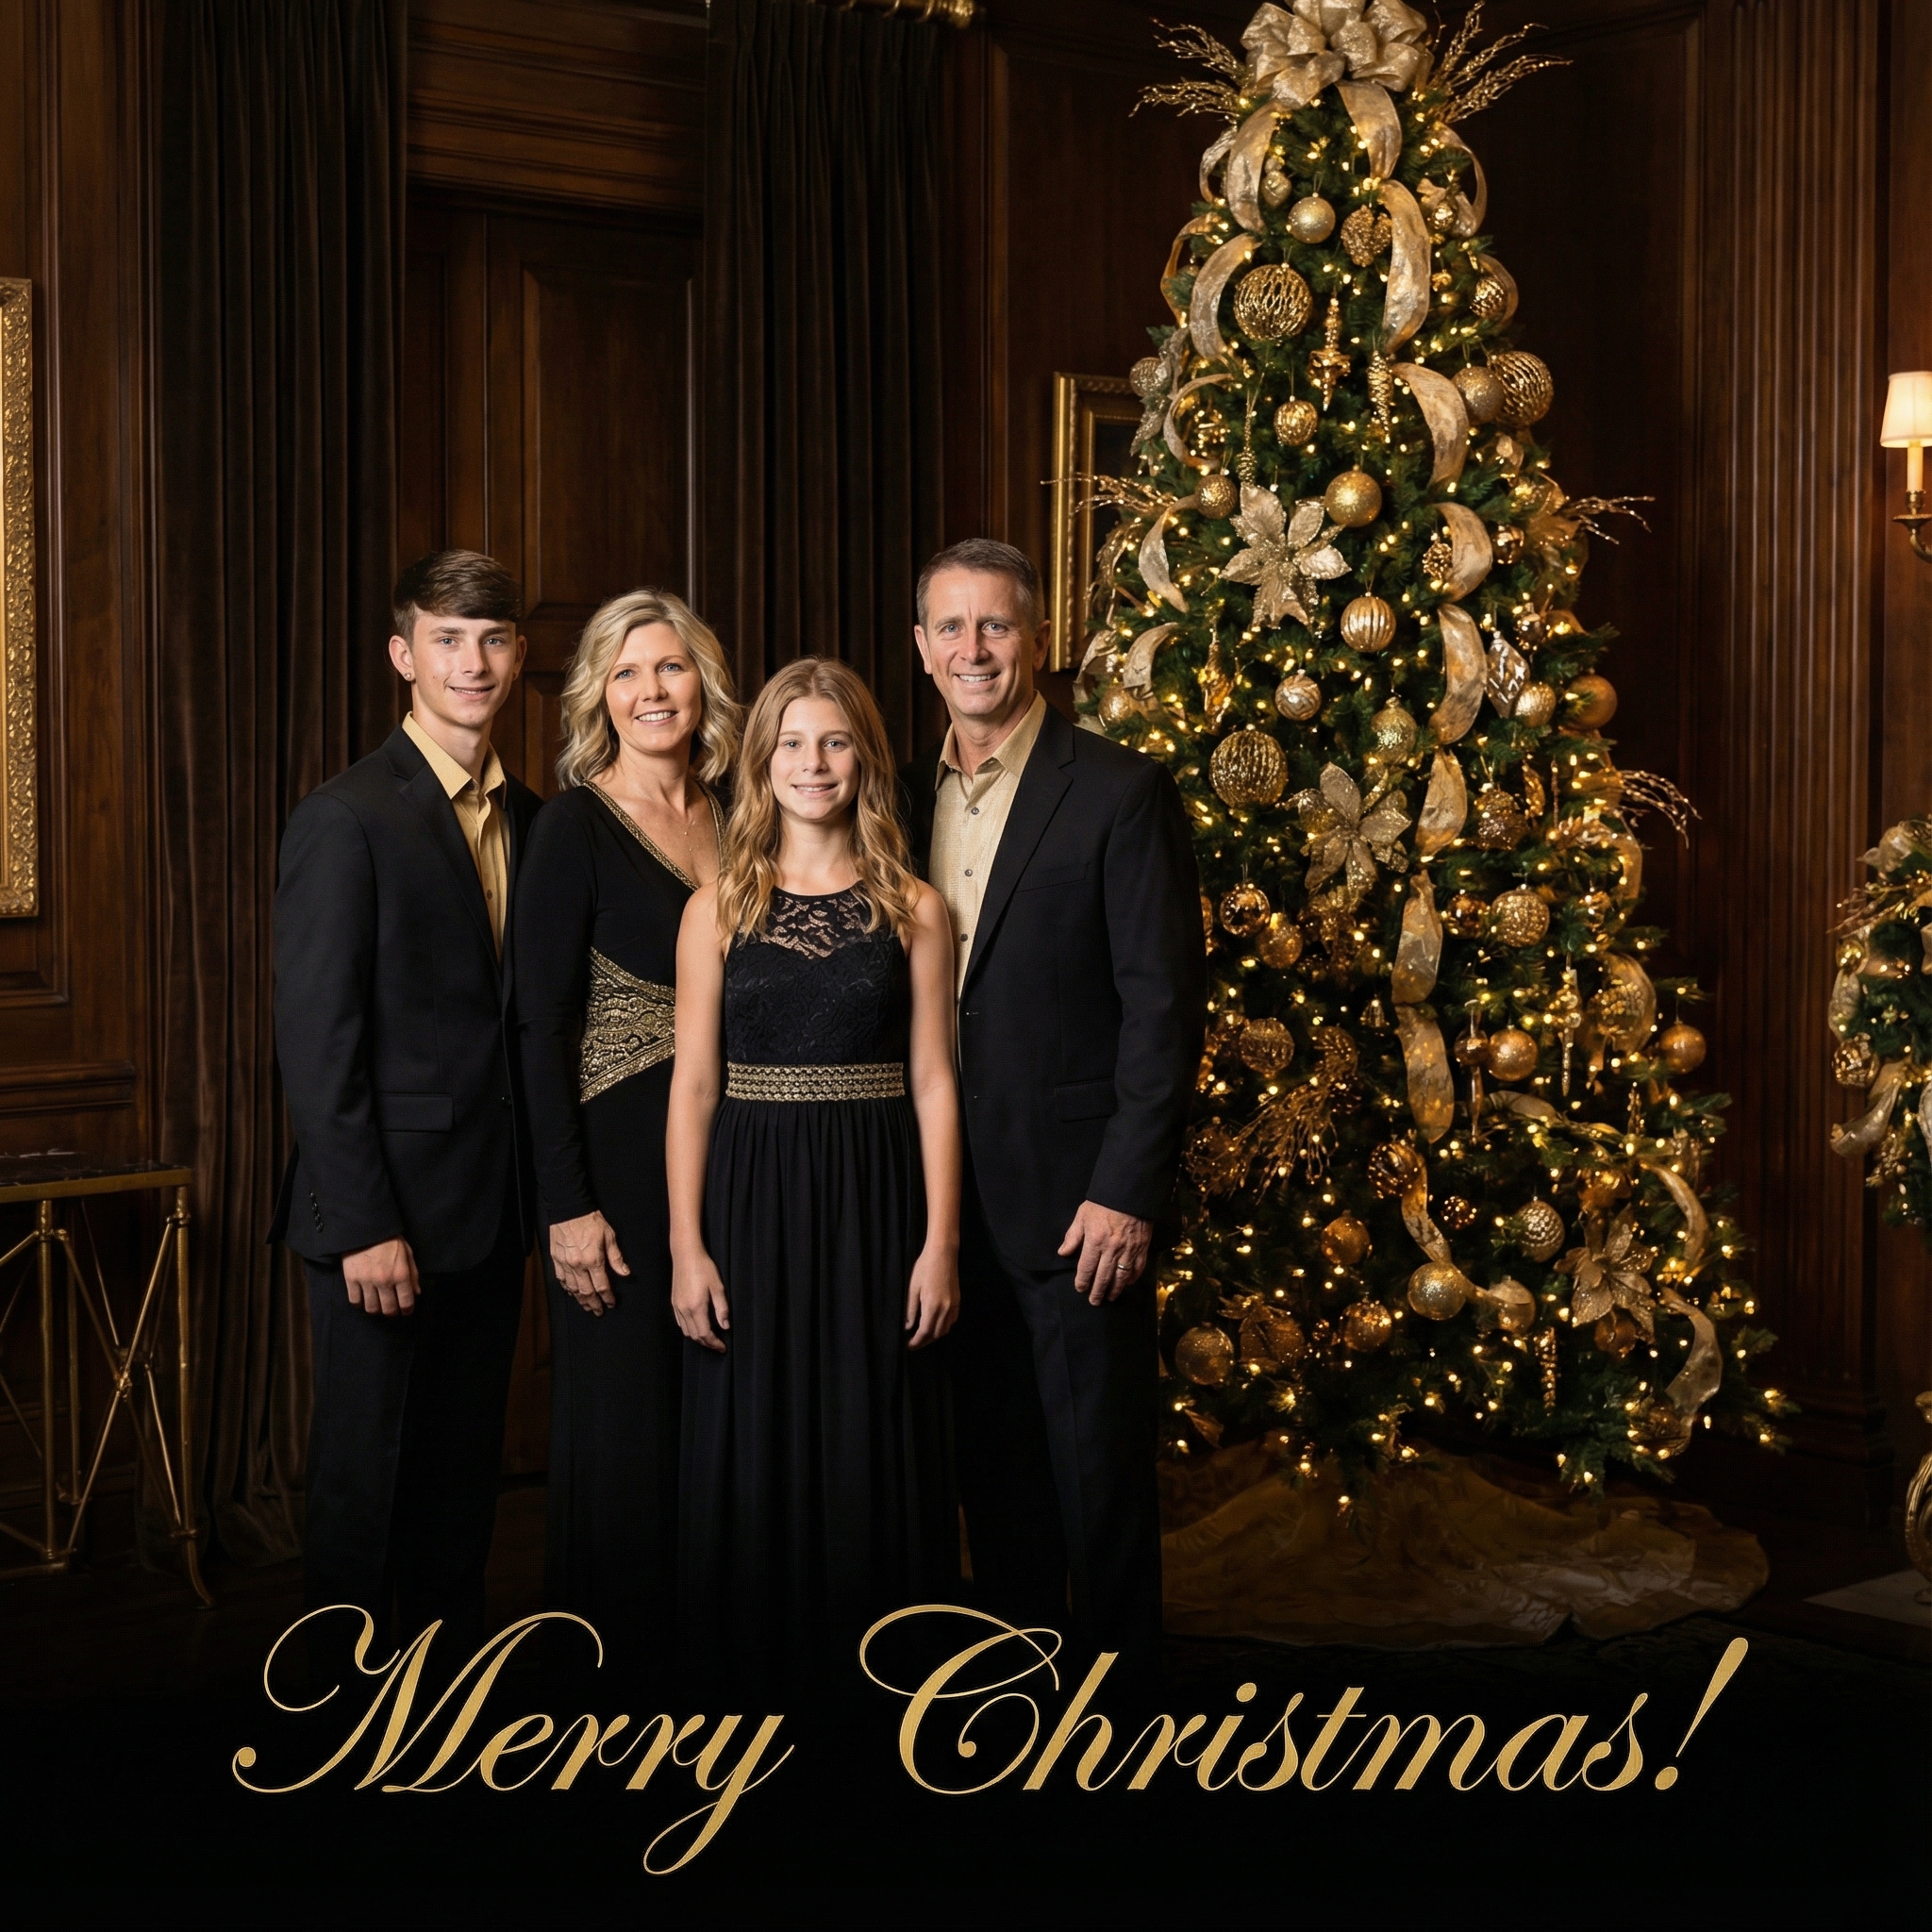
Family Fun: A classic choice, right? Maybe it’s your whole crew in matching (or hilariously mismatched) holiday sweaters, or a candid shot from a summer picnic. The key is genuine smiles and a relaxed vibe. Kids Being Kids: If you have little ones, a photo of them doing something typically kid-like – covered in paint from a craft project, making silly faces, or even a sweet sleeping shot – can be incredibly endearing. It shows their personality, which everyone loves to see. Furry Friends: Let's be real, pet photos are always a hit. Your cat looking regal, your dog goofing off in a Santa hat, or even a whole menagerie snuggled up together. They're part of the family too! An Adventurous Year: Did you go on an amazing trip? A beautiful landscape or a candid shot from your adventures can be a wonderful way to update friends and family on your year's highlights. A Year in Review Collage: Can't pick just one? Don't! Many services let you create a collage. You could do a small grid of four or five photos, showing different milestones or seasons throughout the year. It's a great way to summarize your last 12 months.
Try to pick a photo that makes you happy when you look at it. If it brings a smile to your face, it'll probably do the same for your recipients!
Once you’ve got your photo (or photos) picked out, you might want to do a little bit of spruce-up before you commit. You don't need to be a Photoshop wizard, honestly. Most phones and computers have pretty decent built-in editing tools these days.
Lighting and Brightness: Sometimes a photo just needs a tiny tweak to make it pop. Adjust the brightness or contrast a little bit if it looks a bit dull. Cropping: Is there a lot of distracting stuff around the edges? Crop it down to focus on the main subject. Just be careful not to cut off anyone's head! Color Correction: Does everyone look a bit too orange or blue? A slight adjustment to the color balance can make a big difference. Resolution Check: This is important if you're printing. Make sure your photo isn't too small or blurry. Most online card services will warn you if your photo's resolution is too low for a good print. Generally, the bigger the file size (in MB), the better. You can learn more about photo resolution for printing here.
Just remember, a little goes a long way. The goal isn't to make it look fake or overly retouched, but to enhance the natural beauty of your chosen shot.
When it comes to actually putting your chosen picture onto a card, you've got a couple of main routes you can take. Both have their pros and cons, and it really just depends on how much time you have and how crafty you're feeling.
If you love getting creative and have a bit of time on your hands, you can absolutely make Christmas card with photo from scratch. This is where you can really let your personality shine!
How to do it:
1. Print Your Photos: You can print them at home if you have a good quality printer, or take them to a local print shop or photo lab. Matte or glossy finish? That's up to you! 2. Gather Your Supplies: You'll need some blank cardstock (folded or flat), a good glue stick or photo adhesive, scissors, and whatever embellishments you fancy. Think glitter, ribbons, stickers, stamps, maybe even some dried leaves or sprigs of rosemary for a natural touch. 3. Assemble: Simply glue your photo onto the cardstock. You can center it, put it off to one side, or even make a small collage on the front. Then, go wild with your decorations! You could frame the photo with a contrasting paper, add a hand-stamped message, or tie a tiny bow at the top.
For example, I once printed a lovely square photo of my cat looking very serious, glued it to a folded piece of deep green cardstock, and then added a simple gold glitter border around the photo. Inside, I just wrote a handwritten message. It was simple, but everyone loved it because it was so clearly mine. This method is fantastic if you want each card to be truly unique.
For those who want a polished look without all the cutting and gluing, getting an online service to make Christmas card with photo for you is a fantastic option. These services have come a long way, offering tons of designs and making the process super straightforward.
How it works:
1. Choose a Service: There are loads of reputable companies out there – do a quick search for 'online photo Christmas cards' and you'll find plenty. This article reviews a few popular ones. 2. Pick a Template: Browse through their designs. You’ll find everything from minimalist and modern to festive and traditional. Many offer options for single photos, multiple photos, or even calendar-style cards. 3. Upload Your Photo(s): Follow their instructions to upload your chosen picture(s). They'll usually have tools to help you crop and position them within the template. 4. Add Your Message: Type in your personalized greeting. You can often choose fonts and colors too. 5. Order: Review everything carefully, then place your order! They'll print and ship the cards directly to you (or even directly to your recipients, if you choose that option).
This is a great way to get a professional-looking card with minimal fuss. Plus, you can often get matching envelopes, which is a nice touch. I usually go this route when I'm sending out a lot of cards because it saves so much time, and the quality is consistently good.
Once you’ve got the outside sorted, don't forget the inside! While "Merry Christmas and Happy New Year" is perfectly fine, a little personalized message goes a long, long way.
A Quick Update: A sentence or two about what you've been up to this year can be lovely. "We had a great year, with lots of camping trips and finally renovating the kitchen!" Specific to the Recipient: If you can, add a quick line that's just for them. "Hope you're doing well – thinking of you and looking forward to catching up soon!" or "Remember that time we...?" A Simple Thought: Even something like, "So glad you're in our lives!" can feel very warm and genuine.
And if you can, always sign it by hand. It adds that extra layer of personal touch that digital printing just can't quite capture.
Making photo cards is fun, but don't let all your hard work go to waste by sending them too late!
Start Early: If you're going the DIY route, give yourself plenty of time for crafting. If you're using an online service, check their shipping times and aim to order by early December at the latest, especially if you're sending internationally. Postage: Don't forget to factor in postage costs and make sure you have enough stamps! If your card is a bit thicker or unusually shaped (from all those awesome embellishments!), it might require extra postage. You can check current postal rates on your local postal service website, like USPS.com.
Ultimately, making Christmas cards with your photos should be a joyful experience, not a stressful one. Don't aim for perfection – aim for genuine. The people you're sending them to care about you, not whether your glitter is perfectly even or if your photo is professionally lit. It's the thought and the effort to share a piece of your life that truly counts. So, have fun with it, be yourself, and spread some holiday cheer the personal way!
---
It depends! If you already have supplies like cardstock, glue, and a good printer, or if you're making a very small batch, DIY can sometimes be cheaper. However, if you're buying all new craft supplies and printing lots of photos individually, or if you're making a large quantity, online printing services often become more cost-effective, especially when they run sales.
Absolutely! "Perfect" is subjective, and often a slightly imperfect, candid photo is far more charming and personal than a stiff, posed one. As long as it's clear enough to see what's happening and it makes you smile, it's a great choice. Don't let the pursuit of perfection stop you from sharing a lovely memory.
I'd recommend starting to think about your photo choice in late October or early November. If you're using an online service, aim to place your order by the first week of December to ensure they arrive in time for you to address and mail them out by mid-December. If you're going DIY, start even earlier – maybe even around Thanksgiving – to give yourself plenty of time for crafting without feeling rushed.